
iCare Recovery Pro, the Professional Windows Data Recovery Software to Recover Files from Deleted, Formatted,
Damaged, Corrupted Drives, RAW or Inaccessible Drives with Only 3 Easy Steps.
 Install
  Scan
Scan  Recover
Accidental Deletion
Formatted
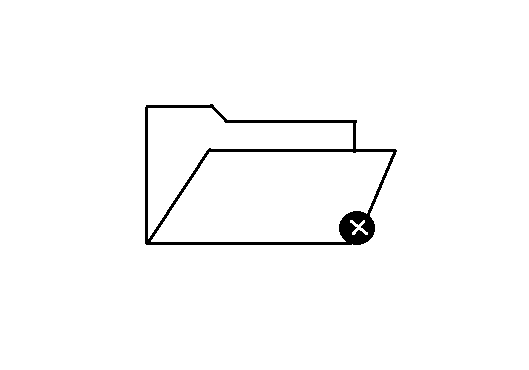
Denied Accessibility or Raw

Virus Attack

Unexpected Power Outage

Factory Reset without Backup

Improper Operation on Partition or Partition Error
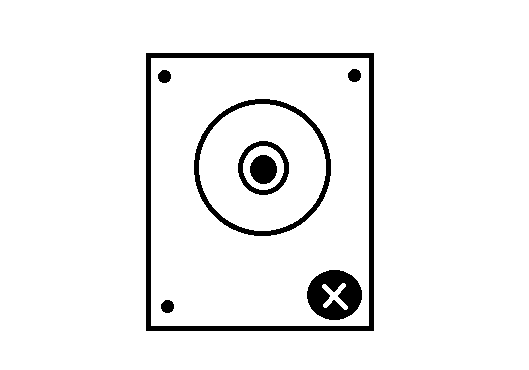
Reinstalled Windows System or Hard Disk Crashes

iCare Data Recovery successfully recovered all lost files that were deleted from the recycling bin. It achieved a perfect score, 100%, for its ability to retrieve images, documents, audio and video.

iCare Data Recovery works well as an alternative to expensive data recovery services. Everything is explained simply, the interface is immediately accessible and scans run fairly quickly.

iCare Data Recovery Pro is a reliable application that gets the job properly done, and fast.
System Requirements
Operating System: Windows 11/10/8.1/8/7/Vista/XP; Windows Server
2000/2003/2008/2012/2016/2019/2022
CPU: 1GHz (32-bit or 64-bit)
RAM: 256 MB or more of RAM (1024MB Recommended)
Hard Disk Space: above 100M free space
Launch iCare Data Recovery after installing
Step One: Select a recovery mode to retrieve files. If it fails to find your files under one recovery mode, you may try all three recovery modes.
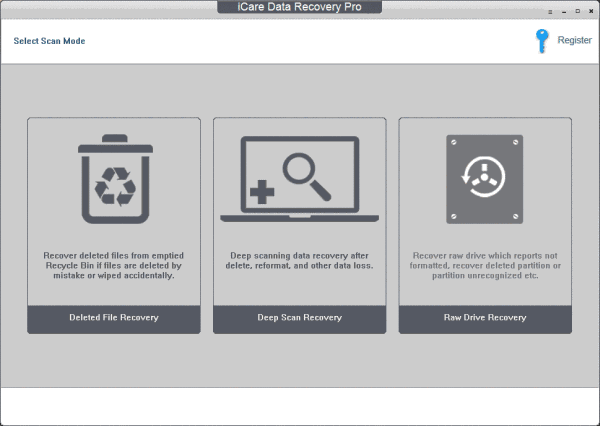
Try three recovery modes one by one to find the most files
Step Two: Select your drive for recovering lost files

Select the drive
Step Three: Wait while the software is scanning your device for lost data
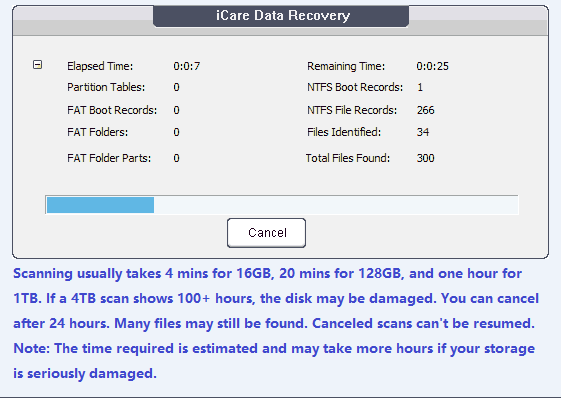
Note: If the scanning takes more than 12 hours for a 2TB external hdd, you may cancel the scanning and then wait to see what it could find for you after scanning.
Step Four: Select a suggested partition (marked as green) which may contain your data.
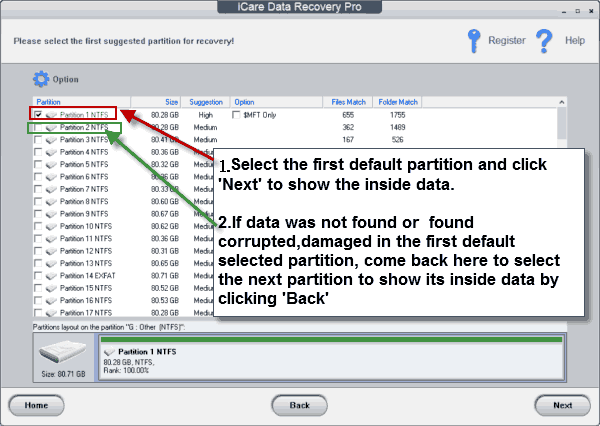
Select found partition to let it show your data. You may come back to the partition list to select a next partition if the first one does not contain your data
Step Five: Preview a file by right click and save data to a safe drive other than the one which lost data
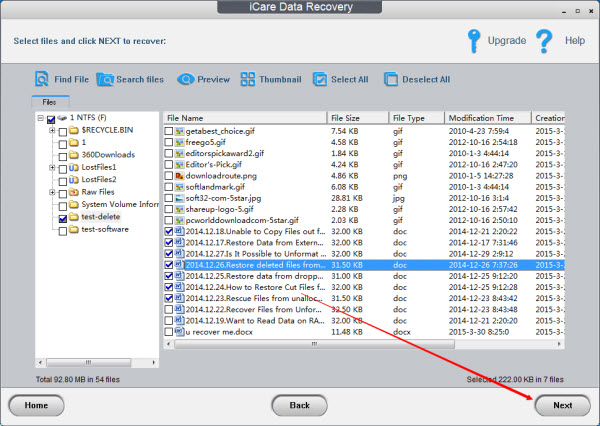
Save data to another drive

High Success rate
of Recovery

2 Millions Satisfied
Customers

15 Days Money
Back

7*24 Hours
Support

100% Secure
Software